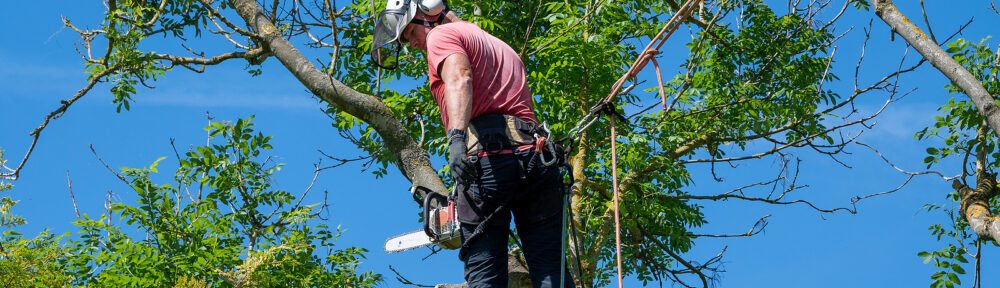
A dead branch rarely stays still for long. Left alone, it dries out, grows brittle, and eventually falls—sometimes onto a roof, a car, or worse. For Indianapolis homeowners, knowing how to spot these branches and decide what to do about them is one of the simplest ways to protect both your property and your trees.
Dead wood isn’t just an eyesore. It’s a safety hazard and a potential entry point for disease and pests that can spread to the rest of the tree. The good news is that many small dead branches are perfectly safe to remove yourself, while others call for a trained professional. This guide walks you through how to tell the difference.
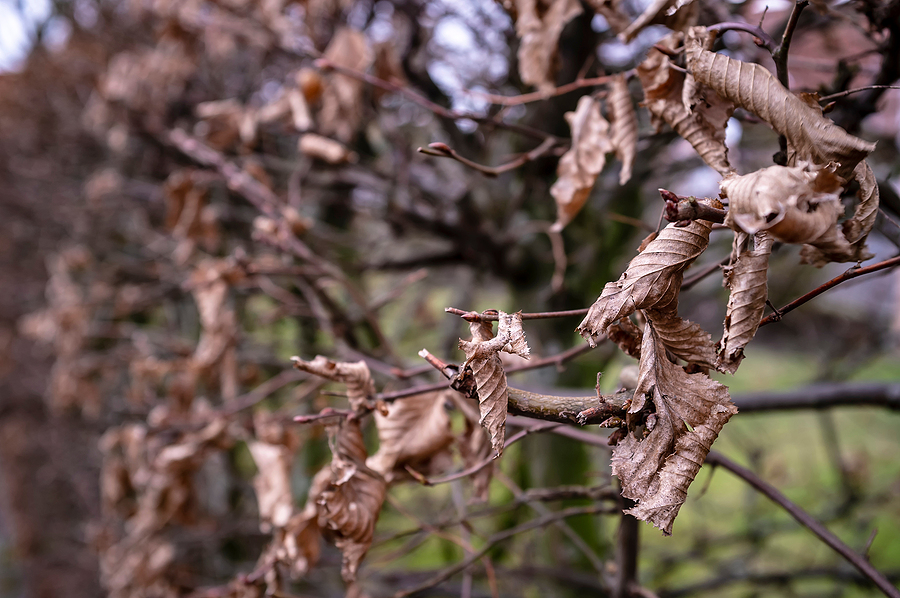
How to Identify Dead Branches on Your Trees
Before you reach for the pruning shears, you need to confirm a branch is actually dead and not just dormant. A few simple checks can tell you what’s going on beneath the bark.
- The snap test: Bend a small section of the branch. Living wood flexes and may spring back; dead wood snaps cleanly with little resistance, and the break looks dry and brittle inside.
- The scratch test: Use a fingernail or knife to scrape away a thin layer of bark. Green or whitish tissue underneath means the branch is alive. Brown, dry tissue confirms it’s dead.
- Visual clues: Watch for bark that’s peeling or missing, a lack of leaf buds in spring, fungal growth, or branches that die back from the outer canopy inward. This pattern, known as crown dieback, often signals broader stress in the tree.
If you spot several dead branches across the canopy rather than just one or two, that’s usually a sign of a larger health issue worth having evaluated.
When to Remove Dead Branches Yourself
Not every dead branch requires a call to a tree service. Small, accessible branches are generally safe for homeowners to handle.
Signs a Branch Is Safe to Remove Without Help
A branch is a good DIY candidate if it’s roughly one to two inches in diameter, reachable from the ground, and not positioned over your house, driveway, or power lines. If you can cut it without a ladder, you’ve already eliminated the riskiest part of the job.
Tools You’ll Need
For small branch removal, a few basic tools will get the job done:
- Hand pruners for branches under half an inch thick
- Loppers for branches up to about two inches
- A pruning saw for slightly larger limbs
- A pole pruner if the branch is a bit out of reach (these can safely extend your range up to about 15 feet without leaving the ground)
Step-by-Step DIY Removal Process
- Locate the branch collar—the slightly swollen area where the branch meets the trunk or a larger limb.
- Make your cut just outside this collar, angling slightly downward and away from the trunk.
- For anything over an inch thick, use the three-cut method: an undercut a few inches out from the trunk, a top cut further out to remove the bulk of the branch, then a final clean cut at the collar. This prevents the bark from tearing as the branch falls.
- Dispose of the debris or set it aside for chipping.
Safety Precautions
Always use clean, sharp tools to make precise cuts that heal faster. Wear gloves and eye protection, and never cut a branch that’s under tension or hung up in the canopy above you. If a branch requires a ladder to reach, it’s time to reconsider whether this is really a DIY job.
When to Call a Professional
Some situations carry too much risk for a homeowner to handle alone, regardless of how confident you feel with a pruning saw.
Large or High Branches
If a branch is more than three inches in diameter, or if reaching it requires a ladder, hand the job over to a professional. Falling limbs at that size can cause serious injury or significant property damage, and proper rigging technique matters more than enthusiasm.
Disease or Pest-Infested Branches
Branches showing signs of fungal growth, insect tunnels, or canker spots need an expert diagnosis. Removing infected wood incorrectly can spread the problem to healthy parts of the tree instead of stopping it.
Multiple Dead Branches Indicating Larger Problems
Widespread dieback often points to root damage, disease, or environmental stress that a few pruning cuts won’t fix. A certified arborist can assess what’s happening below the surface and recommend a plan that addresses the actual cause.
Trees Near Power Lines or Structures
This one has no gray area. Never attempt to remove a branch that’s touching or even near a power line—electricity can arc through the air, and contact with lines is one of the leading causes of injury among tree workers. The same caution applies to branches hanging over your roof, garage, or fence, where a miscalculated cut could send debris crashing into your home.
Cost Considerations
Weighing DIY against professional help often comes down to cost, but the full picture includes more than a service quote.
Professional tree trimming and pruning typically runs between $200 and $800, depending on tree size, branch density, and accessibility. Full tree removal ranges from $400 to $2,000 nationally, with small trees under 30 feet costing $150 to $500 and larger trees exceeding $1,500.
DIY equipment costs add up quickly if you don’t already own tools. A quality chainsaw runs $300 to $600, a pole trimmer $300 to $800, and proper safety gear—gloves, eye protection, a hard hat—another $100 to $200. For a single branch, renting equipment may still cost more than hiring a pro for a small job.
Preventative maintenance often pays for itself. Routine pruning catches dead wood before it becomes a hazard, which can help you avoid the higher cost of emergency tree removal or storm damage cleanup down the road.
Common Mistakes to Avoid
A few recurring errors turn a simple branch removal into a bigger problem:
- Removing too many branches at once. Over-pruning stresses the tree and can trigger a flush of weak, fast growth.
- Using improper cutting technique. Skipping the three-cut method often tears bark down the trunk, creating a wound that invites disease.
- Ignoring signs of tree disease. A dead branch is sometimes a symptom, not the whole story. Treating the symptom without addressing the cause lets the underlying issue continue.
- Delaying removal of hazardous branches. Dead wood only gets weaker with time. The longer a risky branch stays up, the more likely it is to fall during a storm or high wind.
Frequently Asked Questions
How often should I inspect my trees for dead branches?
Walk your property every few months, and especially after major storms. A quick visual check twice a year—once in spring and once in fall—helps you catch new dead wood before it becomes a hazard.
Can dead branches fall on their own?
Yes. Dead branches lose structural integrity over time and can fall without warning, even on a calm day. Wind, rain, and the weight of snow or ice speed up the process.
Will removing dead branches hurt my tree?
No, removing dead wood is beneficial. It reduces the risk of disease spreading to healthy tissue and allows the tree to direct energy toward new, productive growth.
What should I do with branches after removal?
Small branches can be chipped into mulch or added to a compost pile. Larger pieces often work well as firewood, provided the tree wasn’t diseased. For larger cleanup jobs, many tree services offer debris removal for $50 to $100 per load.
Keep Your Trees Healthy and Your Property Safe
Dead branch removal is one of those tasks where knowing your limits matters as much as knowing your tools. Small, low branches are often a manageable weekend project. Anything large, high, diseased, or near power lines deserves a professional’s eye and equipment.
If you’re not sure which category your tree falls into, Complete Tree Care in Indianapolis is ready to help. Contact our team today for an on-site evaluation and expert branch removal that keeps your property safe and your trees thriving.
Related Posts:
Beyond Aesthetics: The Importance of Removing Dead Branches for Tree Health
Removing Dead Tree Limbs in Indiana: What You Need to Know
What To Do After a Storm Leaves Your Trees with Broken Branches