Brown, crispy leaf edges in the middle of summer are rarely a good sign. For many homeowners and property managers, it’s a frustrating sight—especially when the rest of the tree looks perfectly healthy. What you’re likely dealing with is leaf scorch, a condition that affects countless trees across the country each year.
Leaf scorch doesn’t always signal a crisis, but it does warrant attention. Left unaddressed, the underlying causes can compound over time, weakening your tree’s defenses and opening the door to more serious problems. This guide breaks down everything you need to know about leaf scorch—from identifying it early to treating it effectively.
What Is Leaf Scorch?
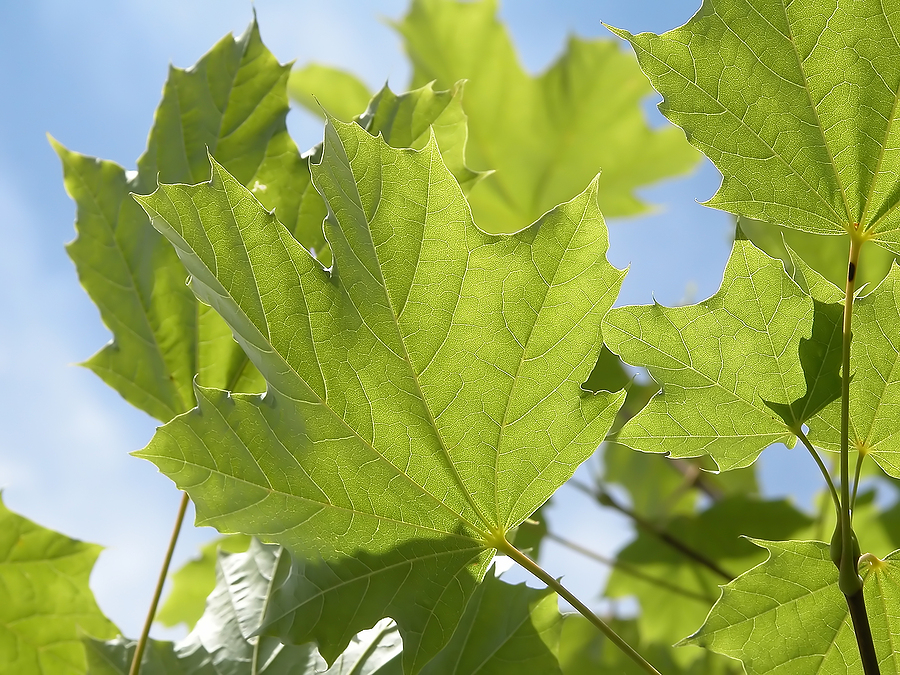
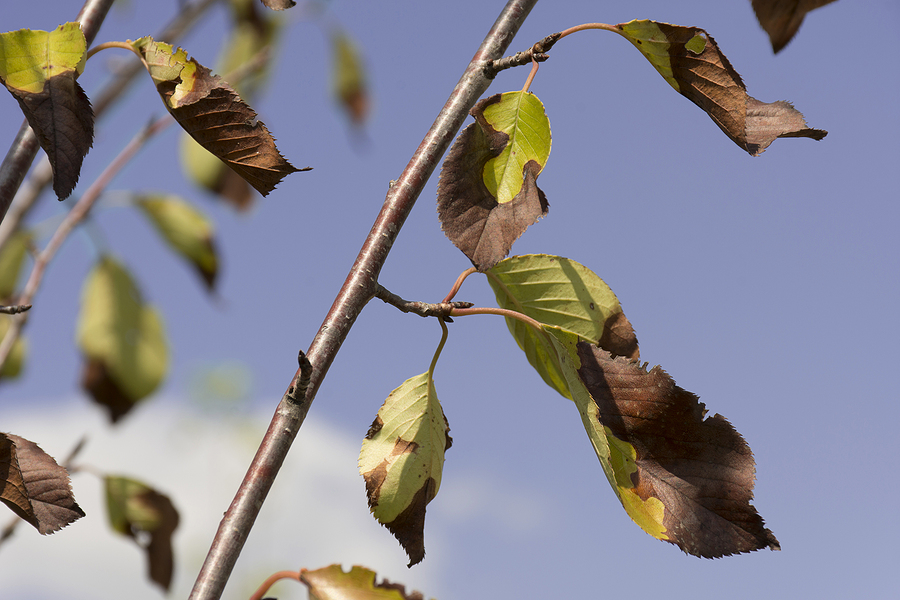
Leaf scorch is a condition that occurs when a tree loses water from its leaves faster than its roots can replenish it. As moisture levels drop in the leaf tissue, cells begin to die—starting at the tips and margins and working inward. The result is the dry, brown, burned-looking edges that give the condition its name.
Importantly, leaf scorch is not always caused by disease. According to the Morton Arboretum, it is often a non-infectious condition triggered by environmental stress. That said, one form—bacterial leaf scorch—is caused by a specific pathogen and requires a different approach entirely.
How to Identify Leaf Scorch Symptoms
Early Signs of Scorch
Leaf scorch typically makes its first appearance in July and August, when heat peaks and rainfall is scarce. The earliest signs include:
- Yellowing along leaf margins and tips, starting at the edges farthest from the main vein
- Slight curling or wilting of leaf edges during the hottest part of the day
- Uneven browning concentrated on the side of the tree most exposed to sun or wind
These early symptoms can be easy to miss or dismiss. Catching them at this stage gives you the best chance of intervening before damage worsens.
Advanced Scorch Damage
When conditions don’t improve, the damage escalates. Brown, dry tissue spreads inward from the leaf margins. In severe cases, entire leaves curl, wither, and drop prematurely. On needled evergreens, scorch progresses from the needle tip downward, turning needles tan, then brown.
Trees Commonly Affected by Leaf Scorch
Virtually any tree can develop leaf scorch under the right conditions, but some species are more susceptible than others. These include:
- Oaks (pin, red, shingle, bur, and white)
- Maples (Japanese maple, sugar maple, red maple)
- Elms and sycamores
- Aspens, cottonwoods, and willows
- Sweetgum, mulberry, and hackberry
- Evergreens, including spruce and fir
Young trees, recently transplanted trees, and those already dealing with pest or disease pressure are at the greatest risk.
Common Causes of Leaf Scorch
Environmental Stressors
The most frequent culprits behind leaf scorch are heat, drought, and wind. Prolonged high temperatures combined with low rainfall create conditions where leaves lose moisture faster than roots can supply it. Hot, drying winds accelerate the process further.
Other environmental factors can also restrict a tree’s ability to take up water, including:
- Soil compaction that prevents root expansion
- Root damage from construction, tilling, or recent transplanting
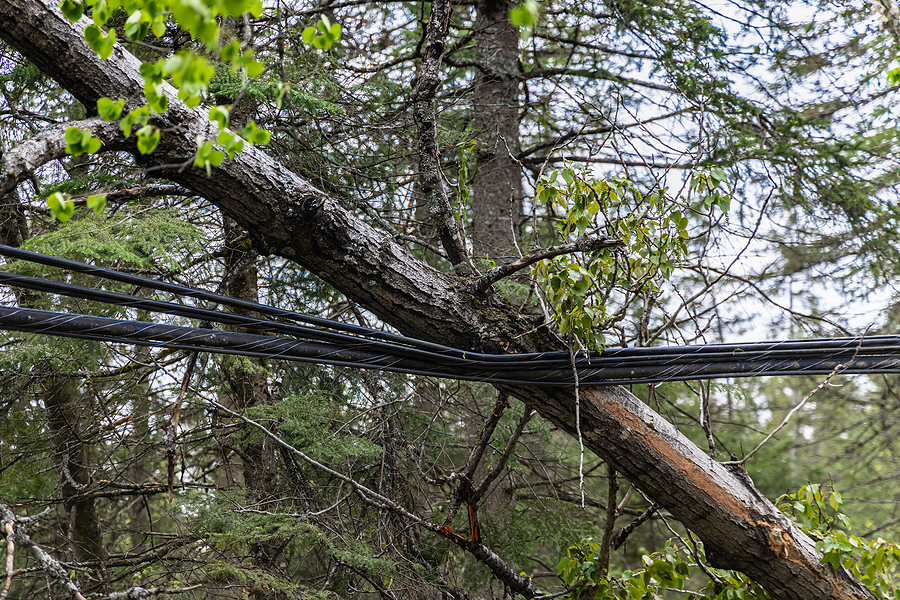
- Girdling roots that constrict the trunk and disrupt water flow
- Poor drainage or waterlogged soils that suffocate roots
- De-icing salts that damage root systems in winter and spring
Nutritional Deficiencies
Not all leaf scorch is water-related. Trees deficient in iron or manganese can develop a nutrient-related form of scorch. The telltale sign here is browning between the leaf veins—particularly at branch tips—rather than at the margins alone. Soil testing can confirm whether a deficiency is to blame.
Over-fertilizing is equally problematic. Fertilizers are salts, and applying too much can chemically burn roots, causing symptoms that look almost identical to drought-related scorch.
Pests and Diseases
Bacterial leaf scorch (BLS) is a more serious form of the condition, caused by the bacterium Xylella fastidiosa. Spread by xylem-feeding leafhoppers and spittlebugs, BLS invades the water-conducting tissues of the tree, progressively blocking water flow.
A few distinguishing features set BLS apart from environmental scorch:
- Browning begins in older leaves and moves toward branch tips—not the other way around
- A narrow yellow halo often separates the dead brown tissue from healthy green tissue
- Symptoms return each year, worsening over time
- The disease typically appears in late July or early August
According to the Missouri Botanical Garden, BLS is most commonly seen in oaks, elms, and sycamores, and can be potentially fatal over a period of 3 to 8 years. There is no cure, making early diagnosis essential.
Preventing Leaf Scorch
Proper Watering Techniques
Water management is the single most effective tool against environmental leaf scorch. The goal is deep, infrequent watering rather than frequent shallow sessions. A slow, thorough soaking allows moisture to reach the full root zone and encourages roots to grow deeper into the soil.
During extended hot and dry periods, supplement rainfall with deep watering sessions as needed. For mature trees, remember that roots can extend outward as far as the tree is tall—the entire area beneath the canopy benefits from moisture.
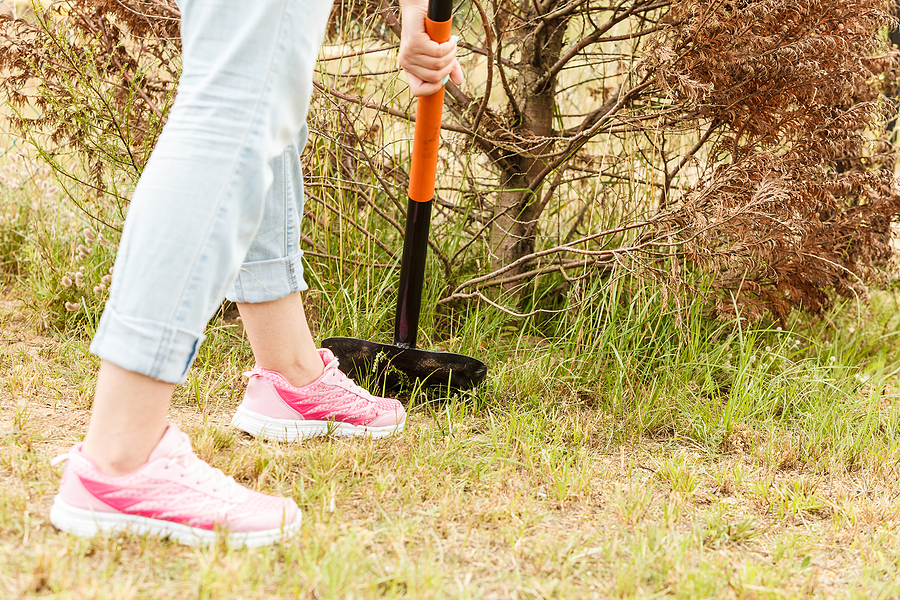
Soil Health Management
A 3- to 4-inch layer of organic mulch (woodchips, bark, or leaf mold) around the base of the tree does double duty: it retains soil moisture and regulates soil temperature. Apply mulch out to the drip line, keeping it a few inches away from the trunk.
Fertilizer timing matters too. Apply fertilizers in early spring or late fall—never during summer, when dry soils amplify the risk of root burn.
Protection from Extreme Weather
Newly planted and young trees need extra attention during heat waves. If a tree is planted in a spot with full sun but prefers partial shade, consider whether relocation might reduce chronic stress. Trees planted near heat-reflecting surfaces like brick walls or asphalt are at higher risk and may need more frequent monitoring.
Treating Leaf Scorch
Addressing the Root Cause
Scorch damage alone—without bacterial infection—rarely kills a well-established, otherwise healthy tree. Once you identify the underlying stressor, correcting it gives the tree the best chance of recovery. If poor drainage is the issue, improving soil aeration helps. If the tree is in the wrong site, transplanting may be the right move. If nutrient deficiency is confirmed through soil testing, targeted soil amendments can restore balance.
Pruning Scorch-Damaged Leaves
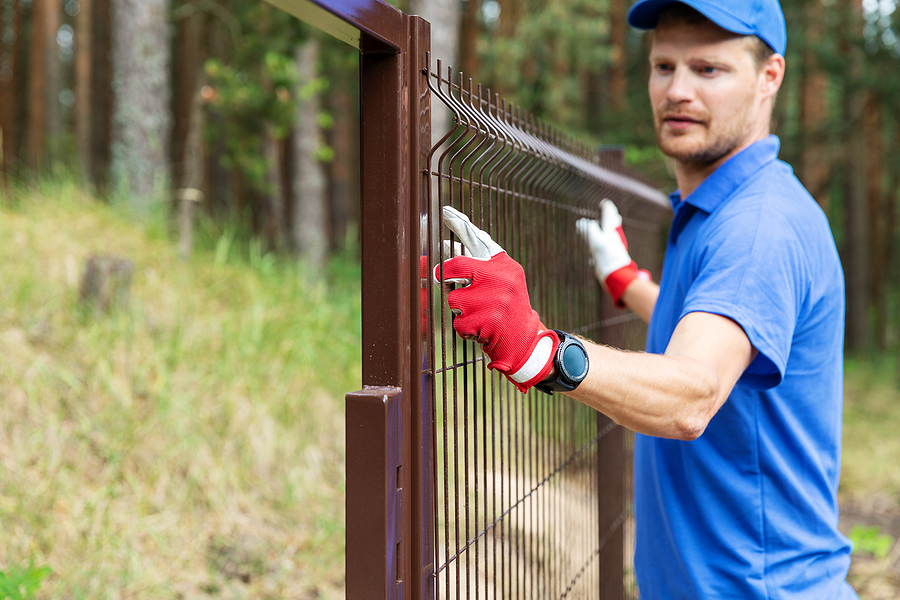
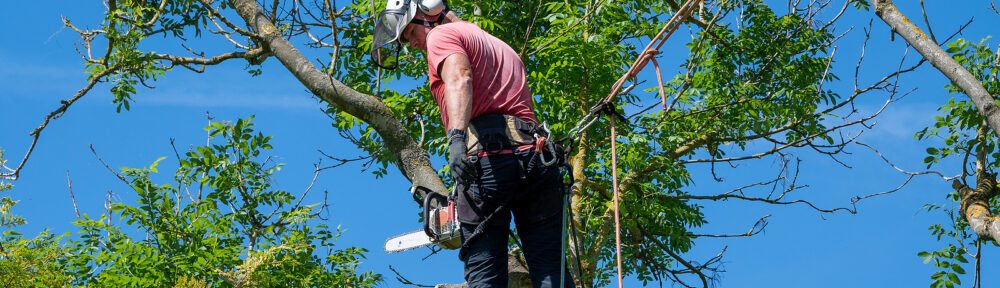
Removing scorched leaves is a reasonable step, particularly with bacterial leaf scorch. Prune branches that have died, and sterilize your tools with a 10% bleach solution between each cut to prevent inadvertent spread. Avoid heavy pruning during summer heat, which can add additional stress. Professional tree pruning is recommended for optimal results.
Professional Interventions for Leaf Scorch
Some situations fall outside the scope of DIY care. If you suspect bacterial leaf scorch, the only way to confirm the diagnosis is through laboratory analysis—typically done by sending a sample to a university extension plant diagnostic lab in late summer or early fall. A certified arborist can also assess root health, recommend targeted treatments, and advise on whether removal is necessary for severely affected trees.
Frequently Asked Questions About Leaf Scorch
Is leaf scorch reversible?
The brown, dead tissue on scorched leaves will not turn green again. However, with proper watering and care, the tree itself can recover fully and produce healthy foliage the following season—provided the underlying cause is addressed.
Can leaf scorch kill a tree?
Environmental and nutrient-related leaf scorch rarely kill a healthy, established tree on their own. Bacterial leaf scorch is a different matter. Without management, BLS progressively weakens the tree over 3 to 8 years, eventually leading to branch dieback and tree death.
How often should I water my tree to prevent leaf scorch?
Deep and infrequent is the general rule. Rather than light daily watering, aim for a thorough soaking that moistens the soil well beyond the mulch layer. During hot, dry stretches, monitor soil moisture and water when the top few inches feel dry. Avoid the temptation to overwater—waterlogged soil causes its own form of root damage.
Take Action Before the Damage Spreads
Leaf scorch is one of those problems that rewards early attention. A tree showing yellowed margins in July can recover with prompt intervention. One that’s been silently stressed for years—whether by poor drainage, soil compaction, or a bacterial infection—faces a steeper road.
If your trees are showing signs of leaf scorch and you’re not sure where to start, the team at Complete Tree Care is here to help. Serving Indianapolis, Indiana and the surrounding area, Complete Tree Care provides professional tree services and tree removal when it’s needed. Request your free estimate today and get the answers your trees deserve.
Related Posts:
How to Prepare Your Trees for the Heat of Summer
Tree Troubles: Identifying and Treating Common Tree Diseases in Indiana
How to Decode and Combat Abnormal Tree Leaf Loss